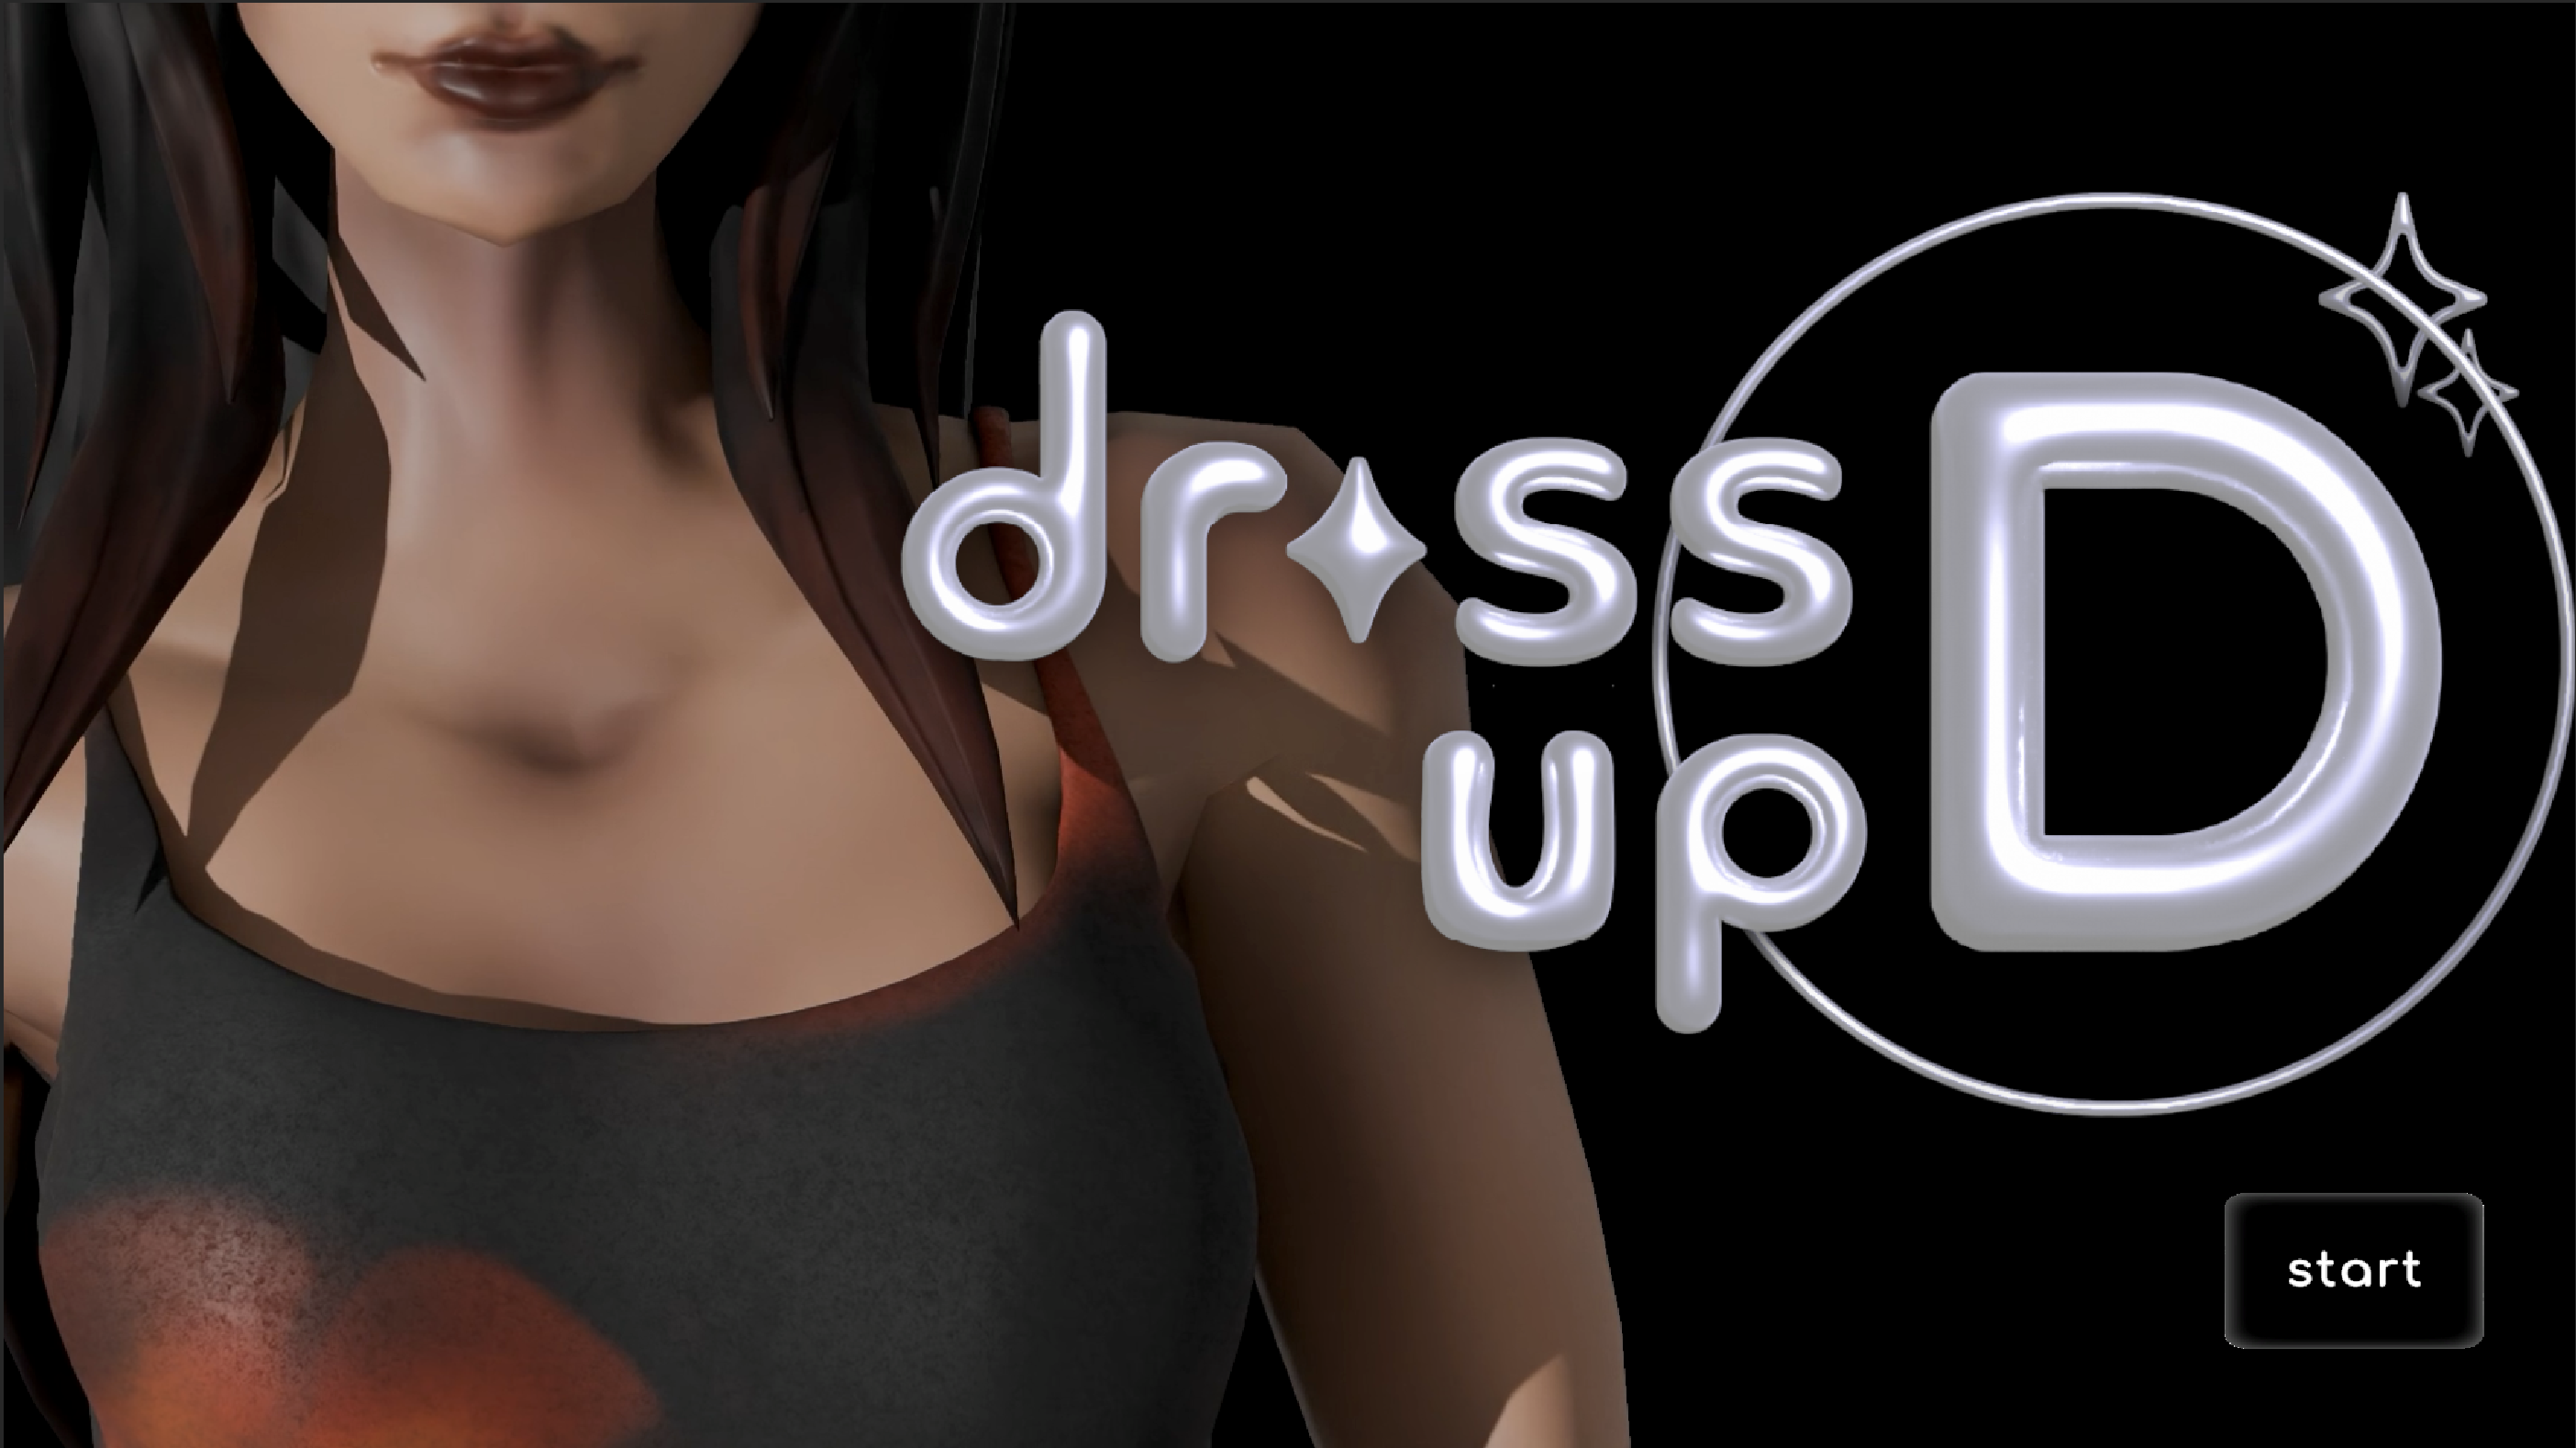
DressUp D
description
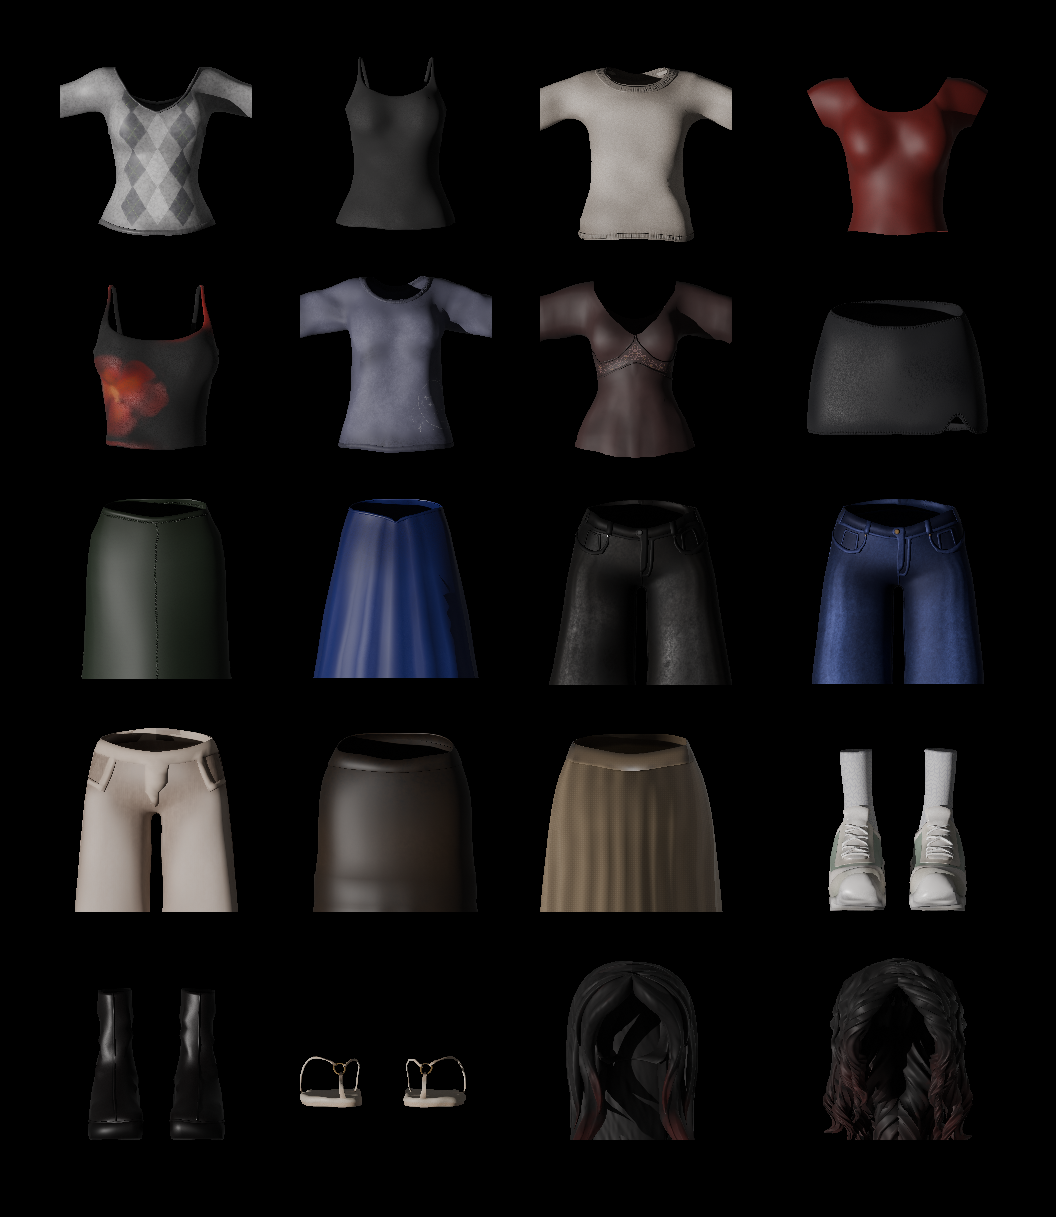
DressUp D is a dressup game made with items from my own closet, inspired by my love for fashion.
This project incorporates animation, modeling, game design, scripting, texturing, UI, and more.
I utilized various applications to run through the entire pipeline flow, allowing me to learn
new skills and knowledge throughout the process.
The Mac download file can be found here. WebGL is in progress.
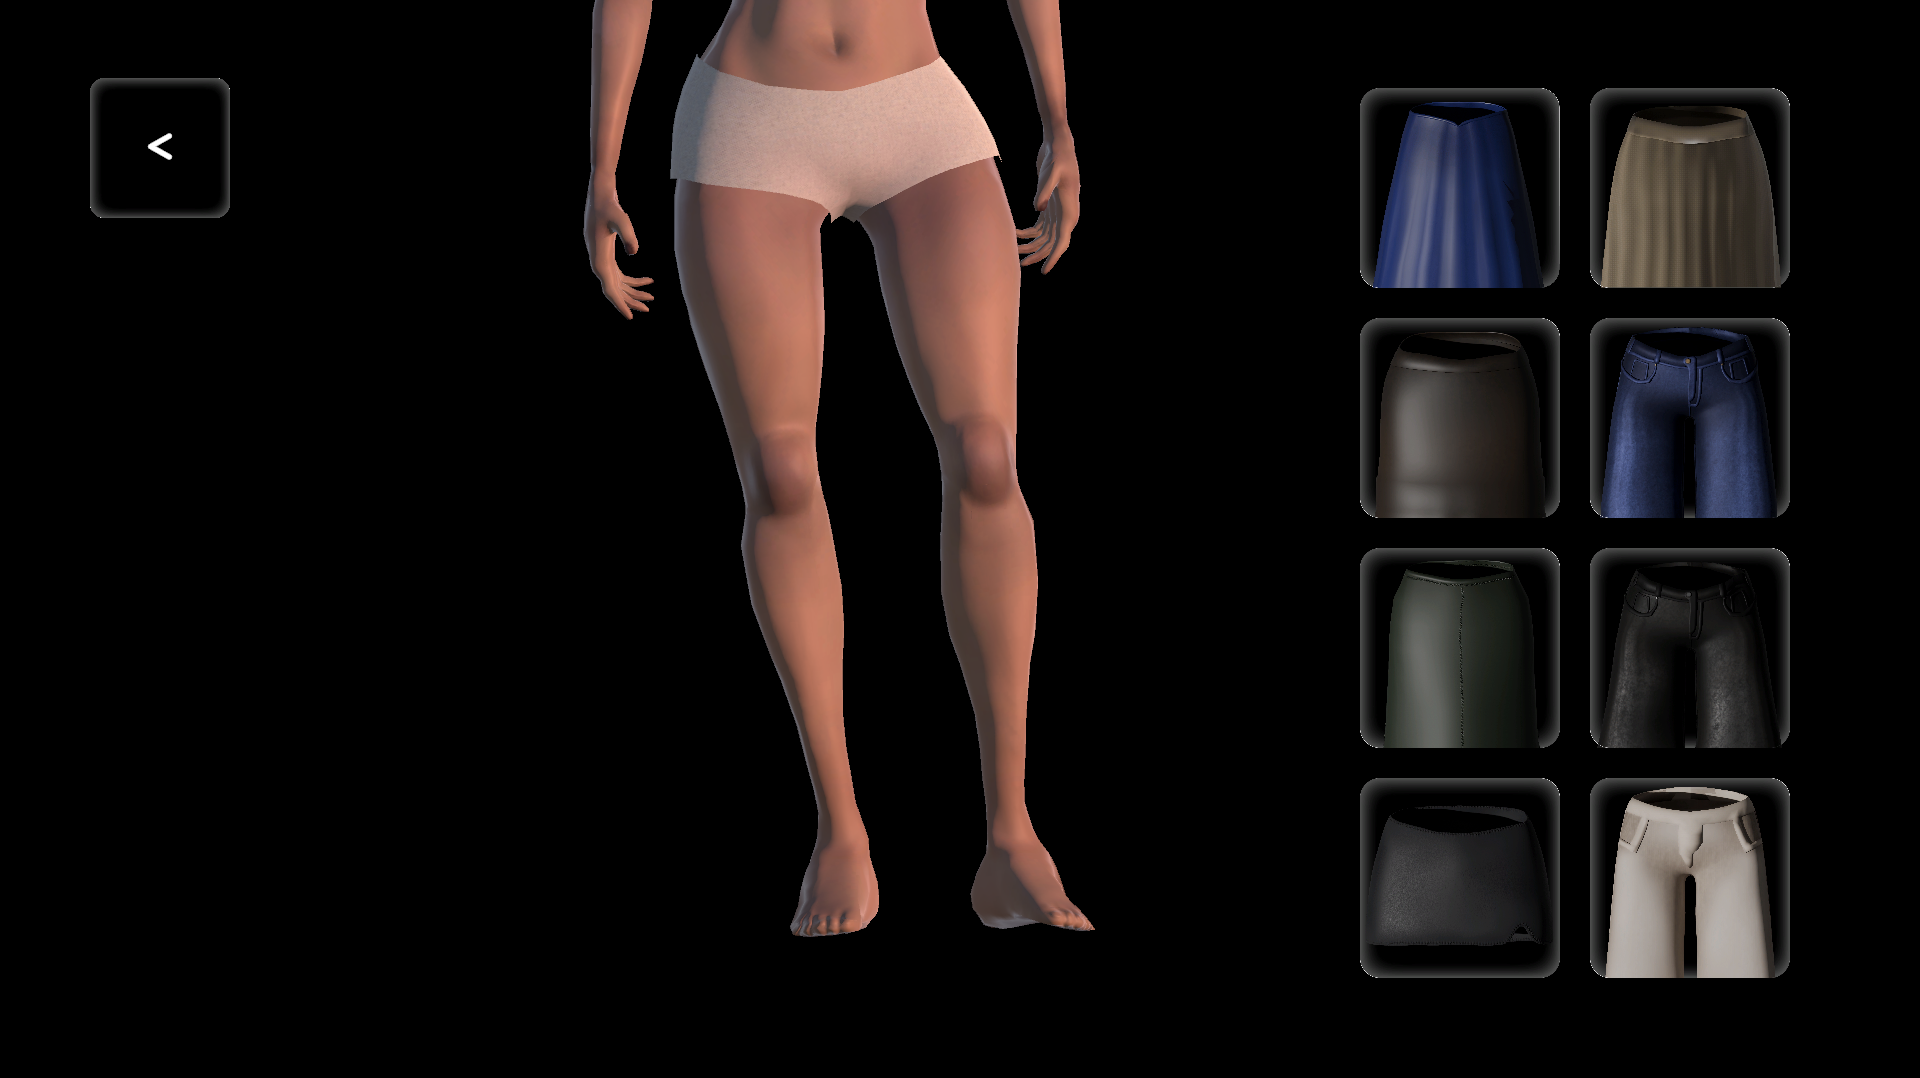
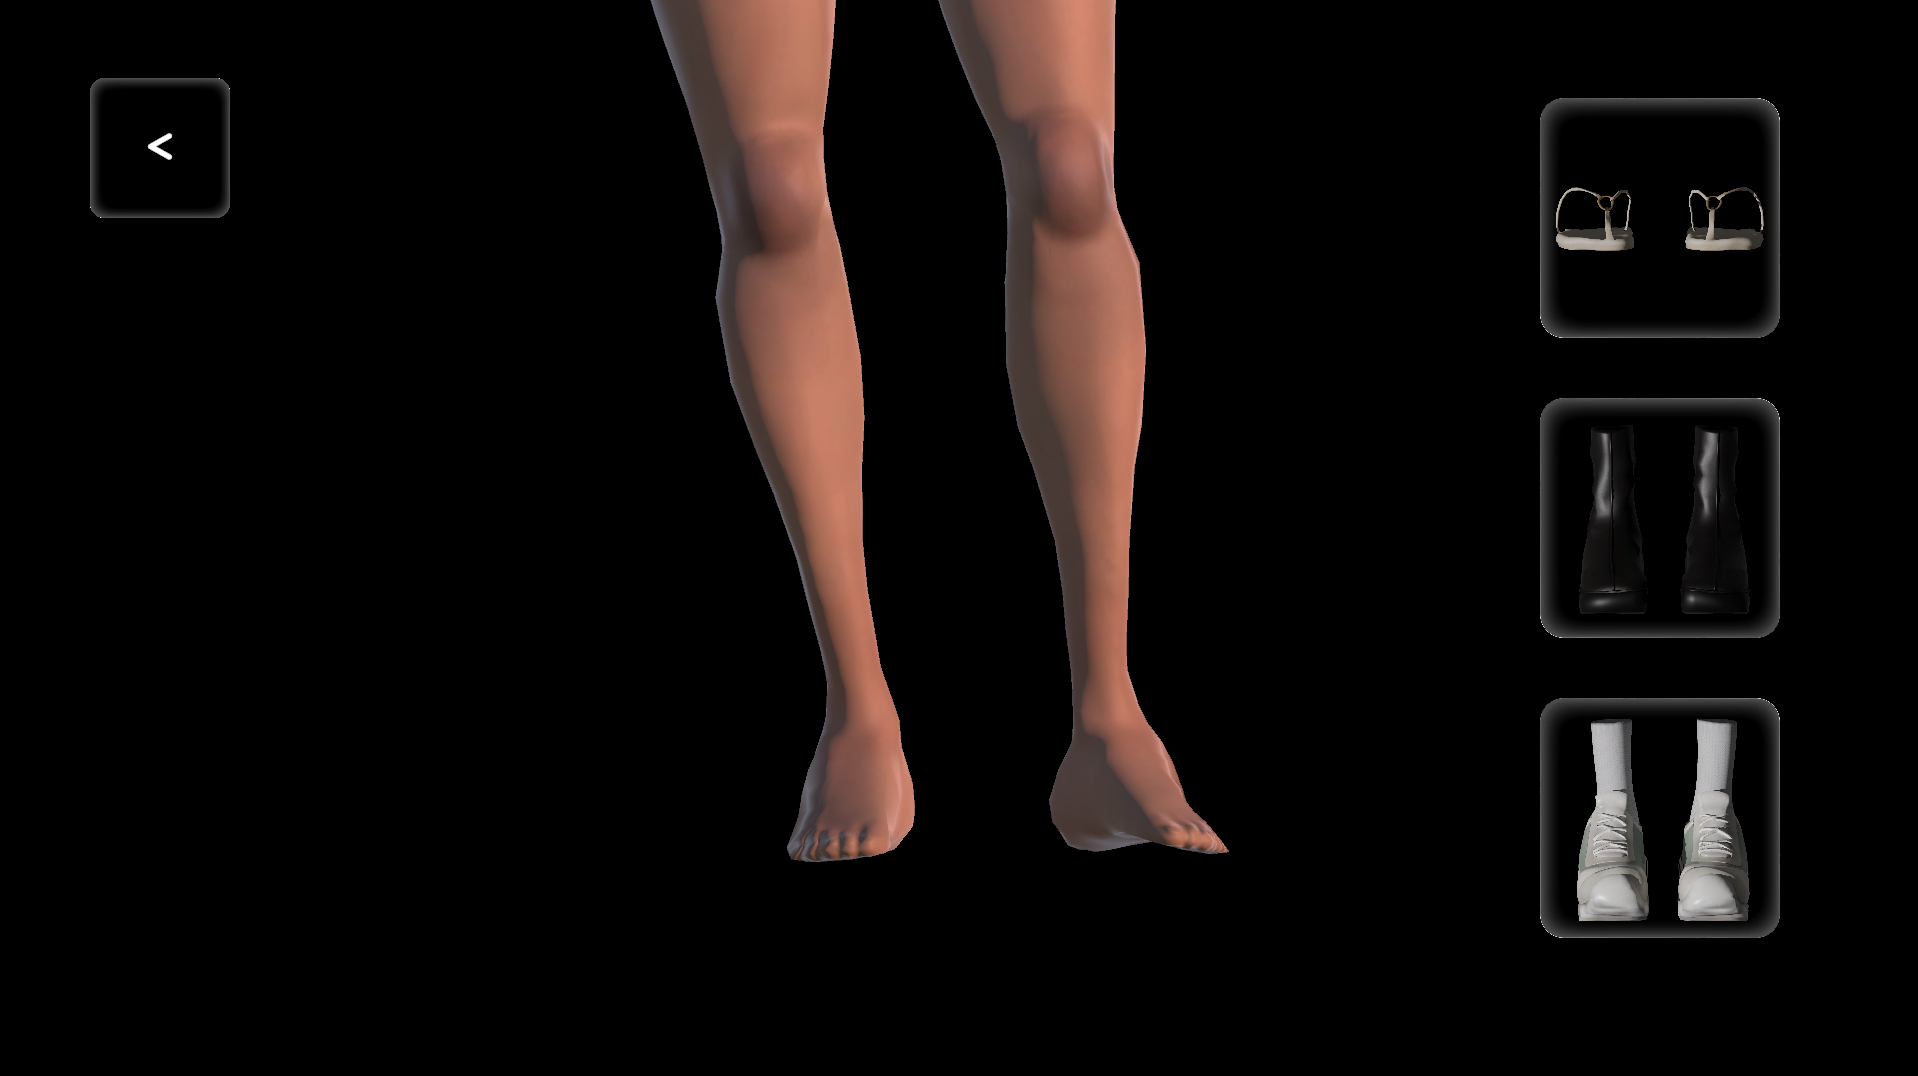
View the gameplay below
timeline
06/2025 -
08/2025
role
individual
tools
blender,
mixamo,
unity,
substance painter,
adobe illustrator
asset creation
modeling
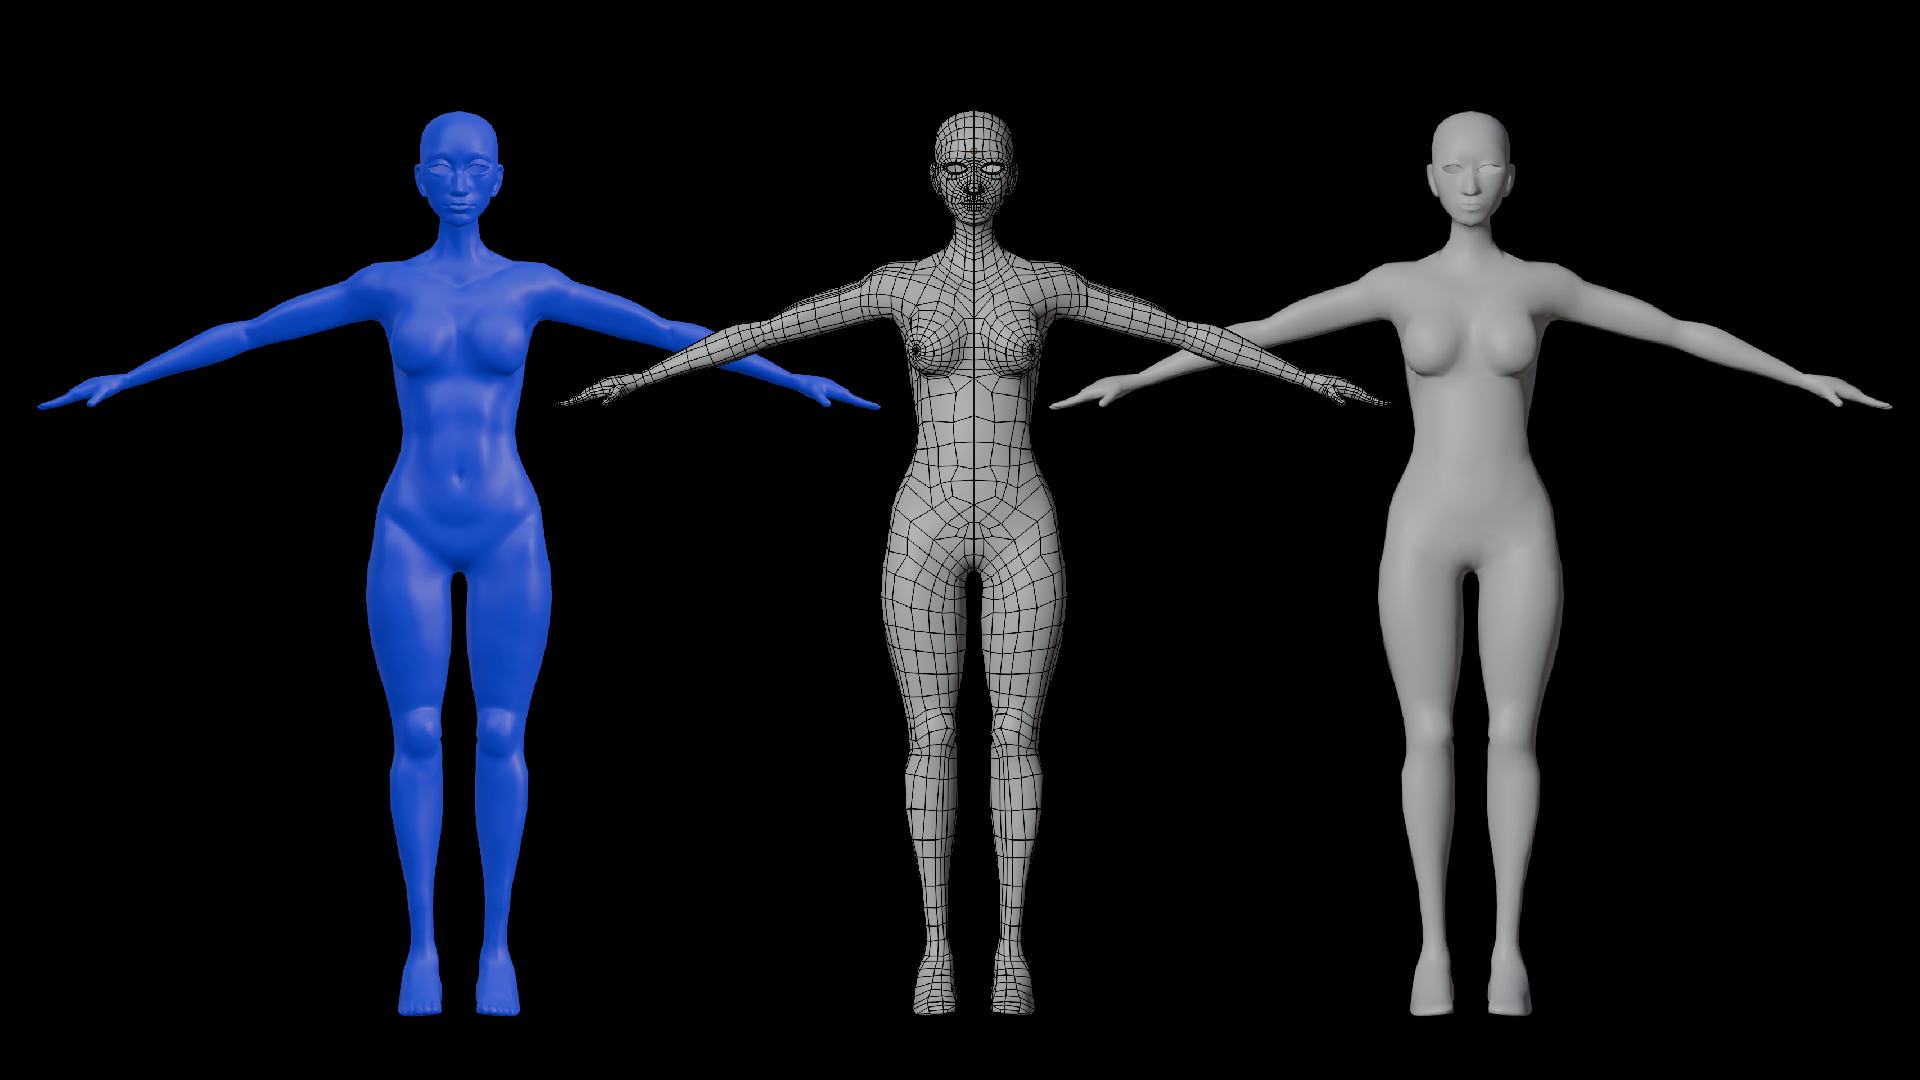
I began modeling the character using basic primitives in Blender (spheres, cubes, planes), then sculpted a high-poly body model to establish form and detail. From there, I created a clean low-poly version by using the shrinkwrap modifier, mirror modifier, and snapping tools for retopology, and baked the high-poly details onto the low-poly mesh for optimization.
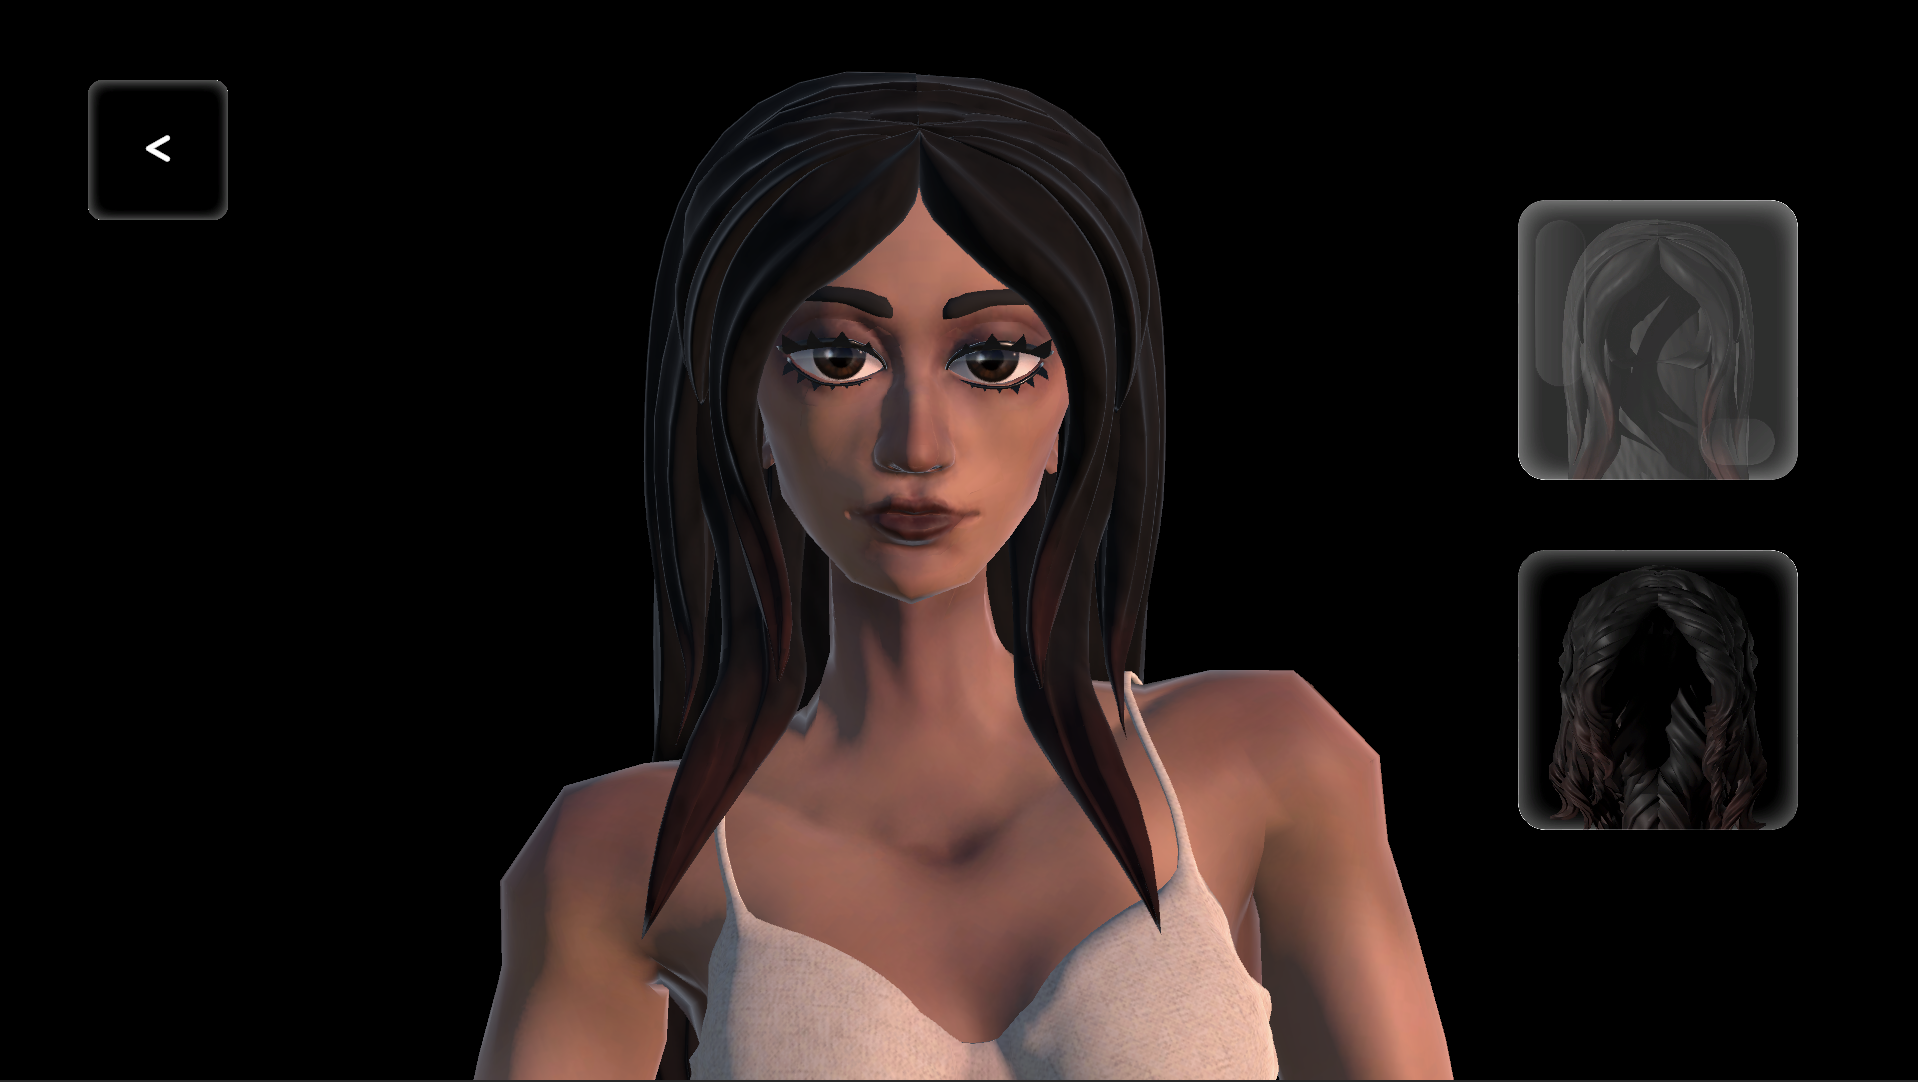
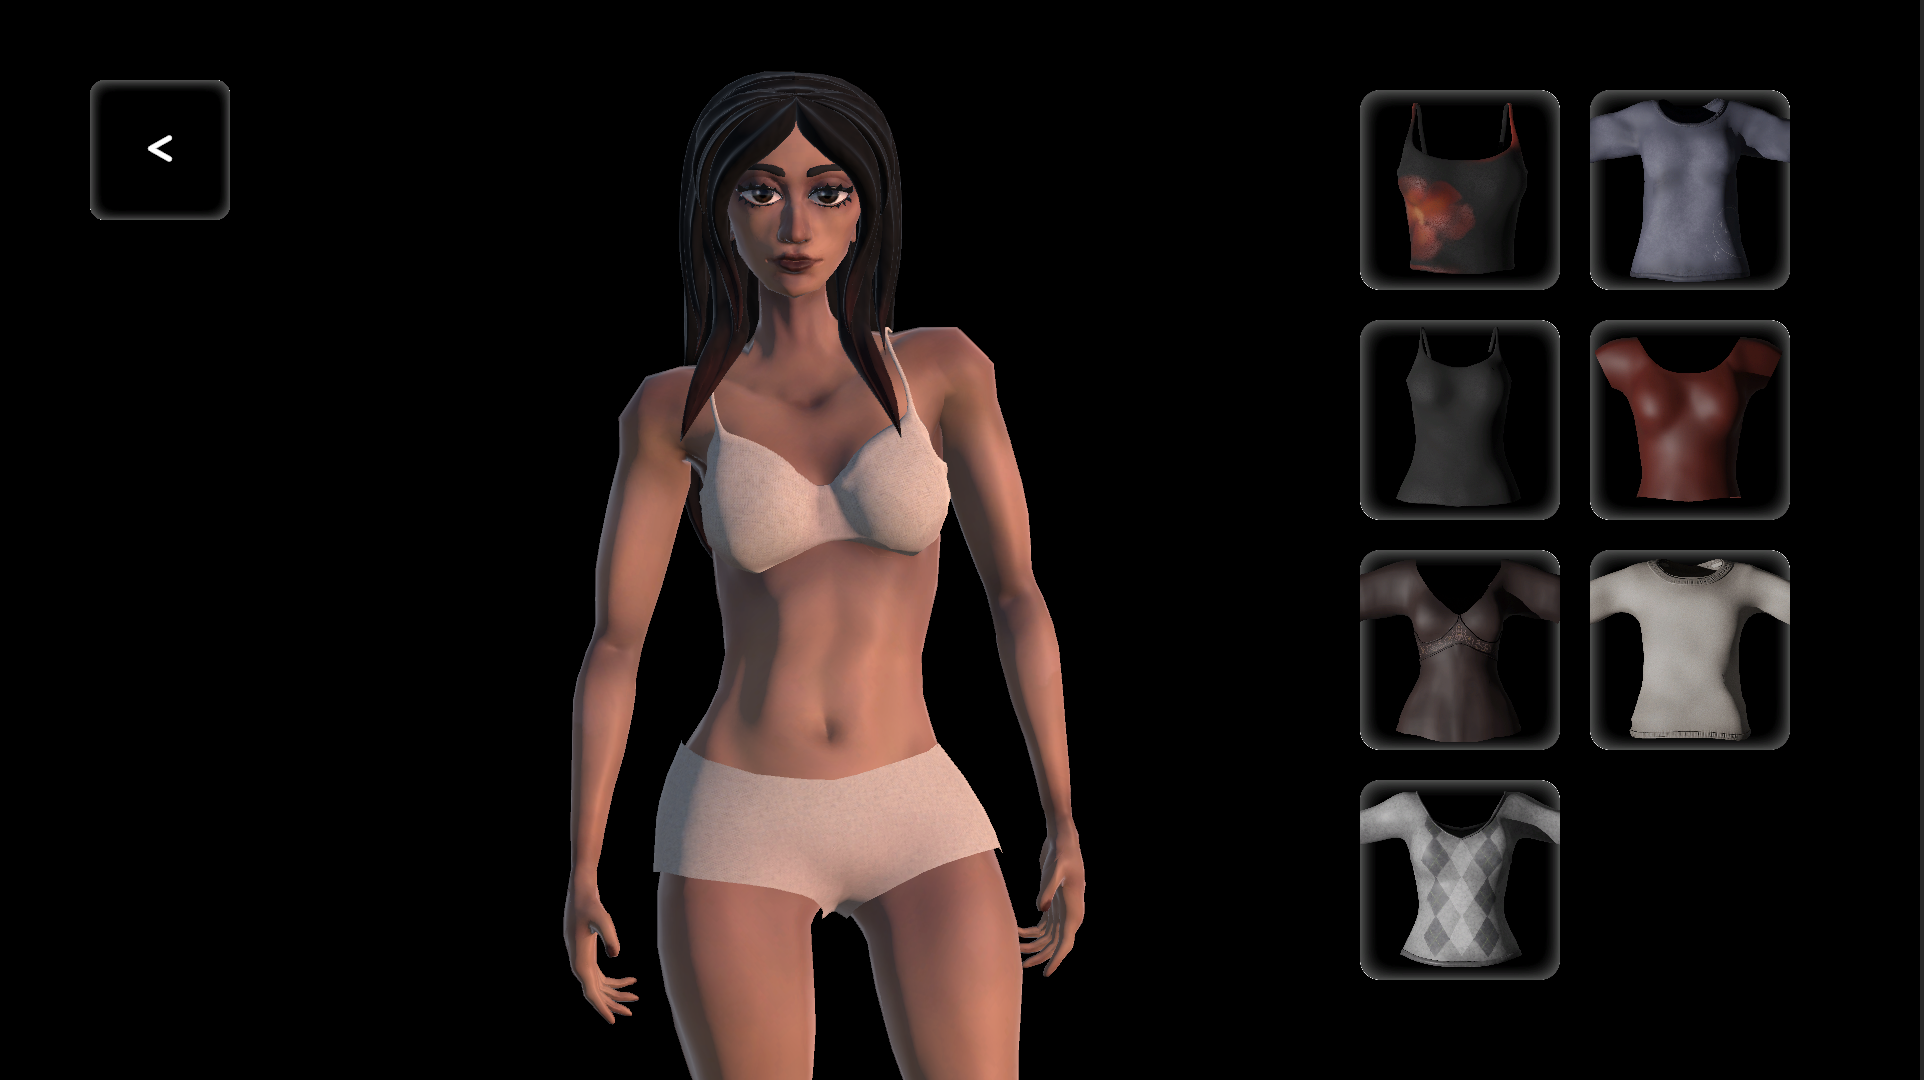
For the hair, I modeled strands using curves, then converted and optimized them into a single mesh for efficiency. I created two versions for the hair, my hair when it is straight, and when it is in its natural form. For the clothing, I generated base meshes with the shrinkwrap modifier over the body, then refined the topology and form through sculpting and additional modifiers. Each clothing mesh is based off of an item from my closet.
animation/rigging
For rigging, I used Mixamo to quickly generate an idle animation, which helped keep the project within scope. I refined the rig by weight painting areas of the body to achieve more natural deformations. Once satisfied, I applied the armature to the hair and clothing items.
Initially, I experimented with the Surface Deform modifier for clothing, but realized it would not be compatible with game engines. So I instead parented the clothing meshes directly to the body armature. This introduced issues where some clothing became warped due to modifier stack order and unapplied transformations. To resolve this, I retopologized the clothing, ensured modifiers were applied in the correct order, and consistently applied transformations before joining meshes. With these fixes, the clothing deformed correctly, and I fine-tuned results through additional weight painting to minimize overlaps.
To add more expressiveness, I created basic facial animations using shapekeys, including blinking and subtle smiling. I also rebuilt the eyeliner and eyelashes so they could follow the facial shapekeys, ensuring natural movement during animation.
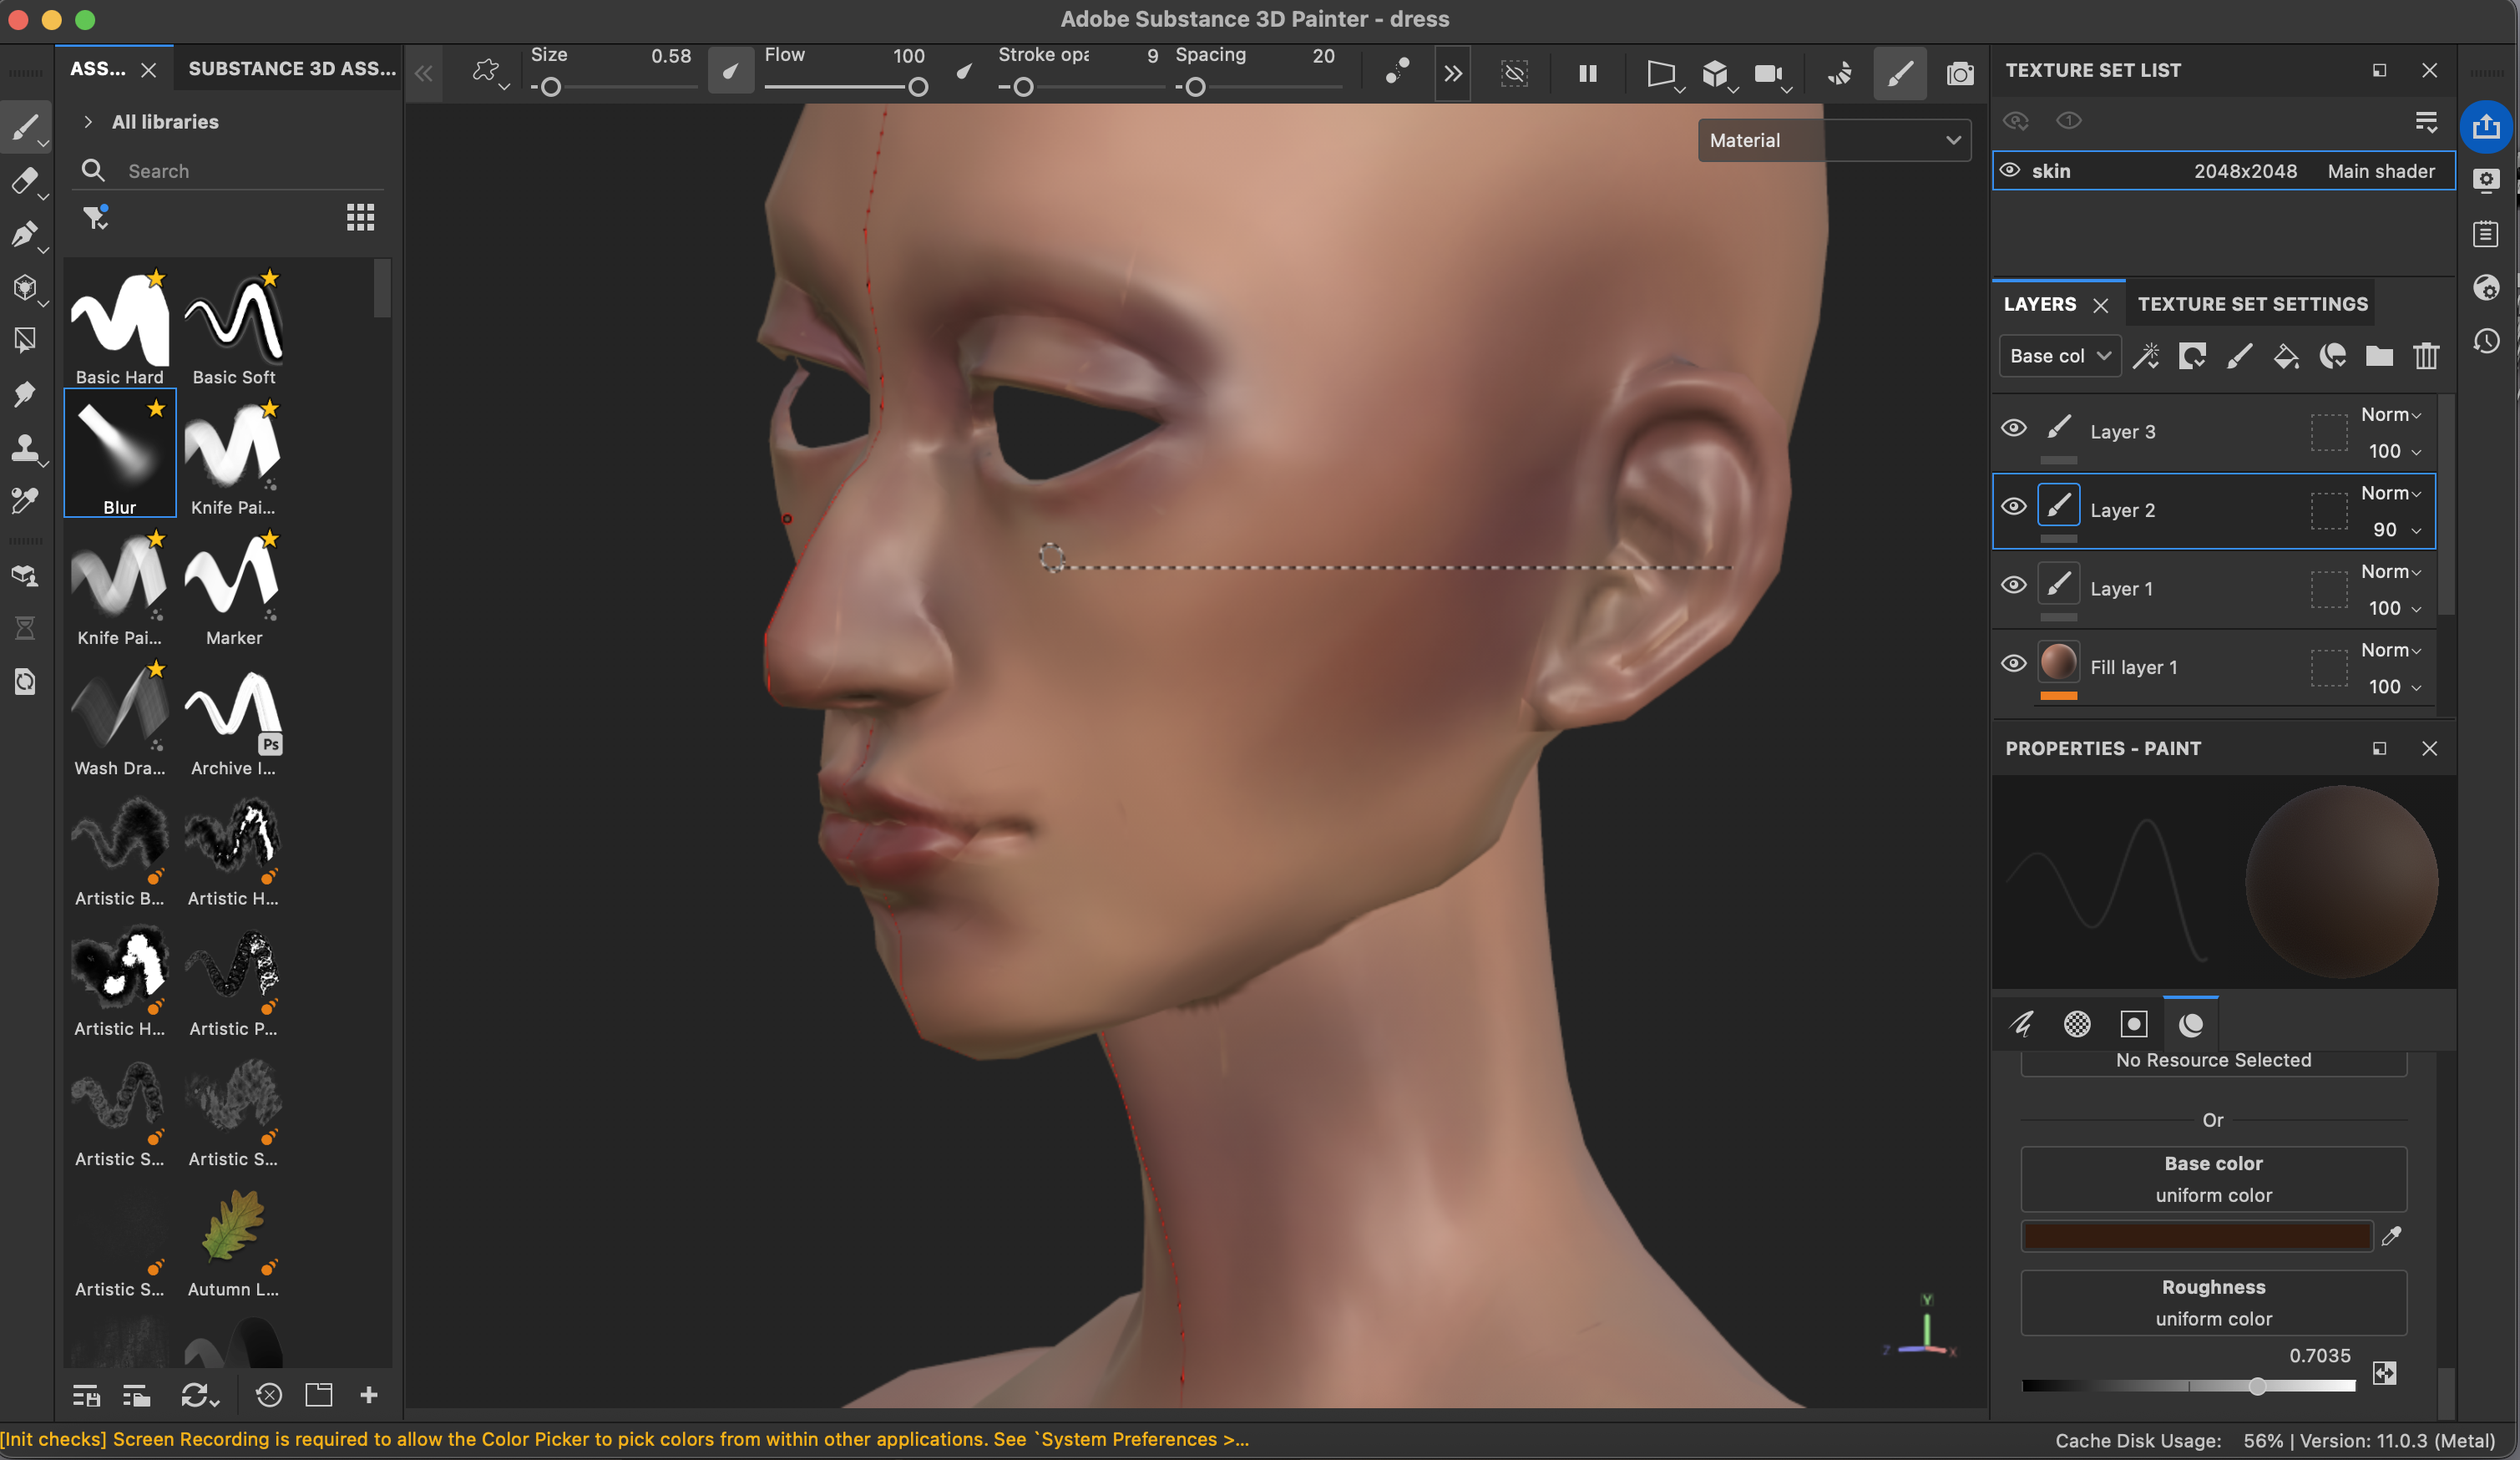
texturing
I textured all meshes using Substance Painter, combining hand-painting with procedural materials (such as fiber and weave) to add realistic detail to the clothing. To accommodate hardware limitations on my laptop, I painted at a lower resolution and then exported textures at a higher resolution for final use.
game engine
importing
I set up my Unity project by creating basic scenes and importing my character and clothing as FBX files from Blender. Through trial and error, I refined the export process. For example, my animation within Unity was jittery, which I solved by changing the simplify export option from '1' to '0', resulting in all keyframes being preserved.
After importing clothing, I noticed weight painting behaved differently in Unity due to its 4-bone weight limit per vertex. To resolve this, I returned to Blender, applied bone limitations to each clothing item, and re-weight painted where necessary before re-importing.
Finally, I checked the root bones and armature for each mesh in Unity, and configured Unity's Animator to apply the idle animation consistently across the character and clothing meshes.
logic
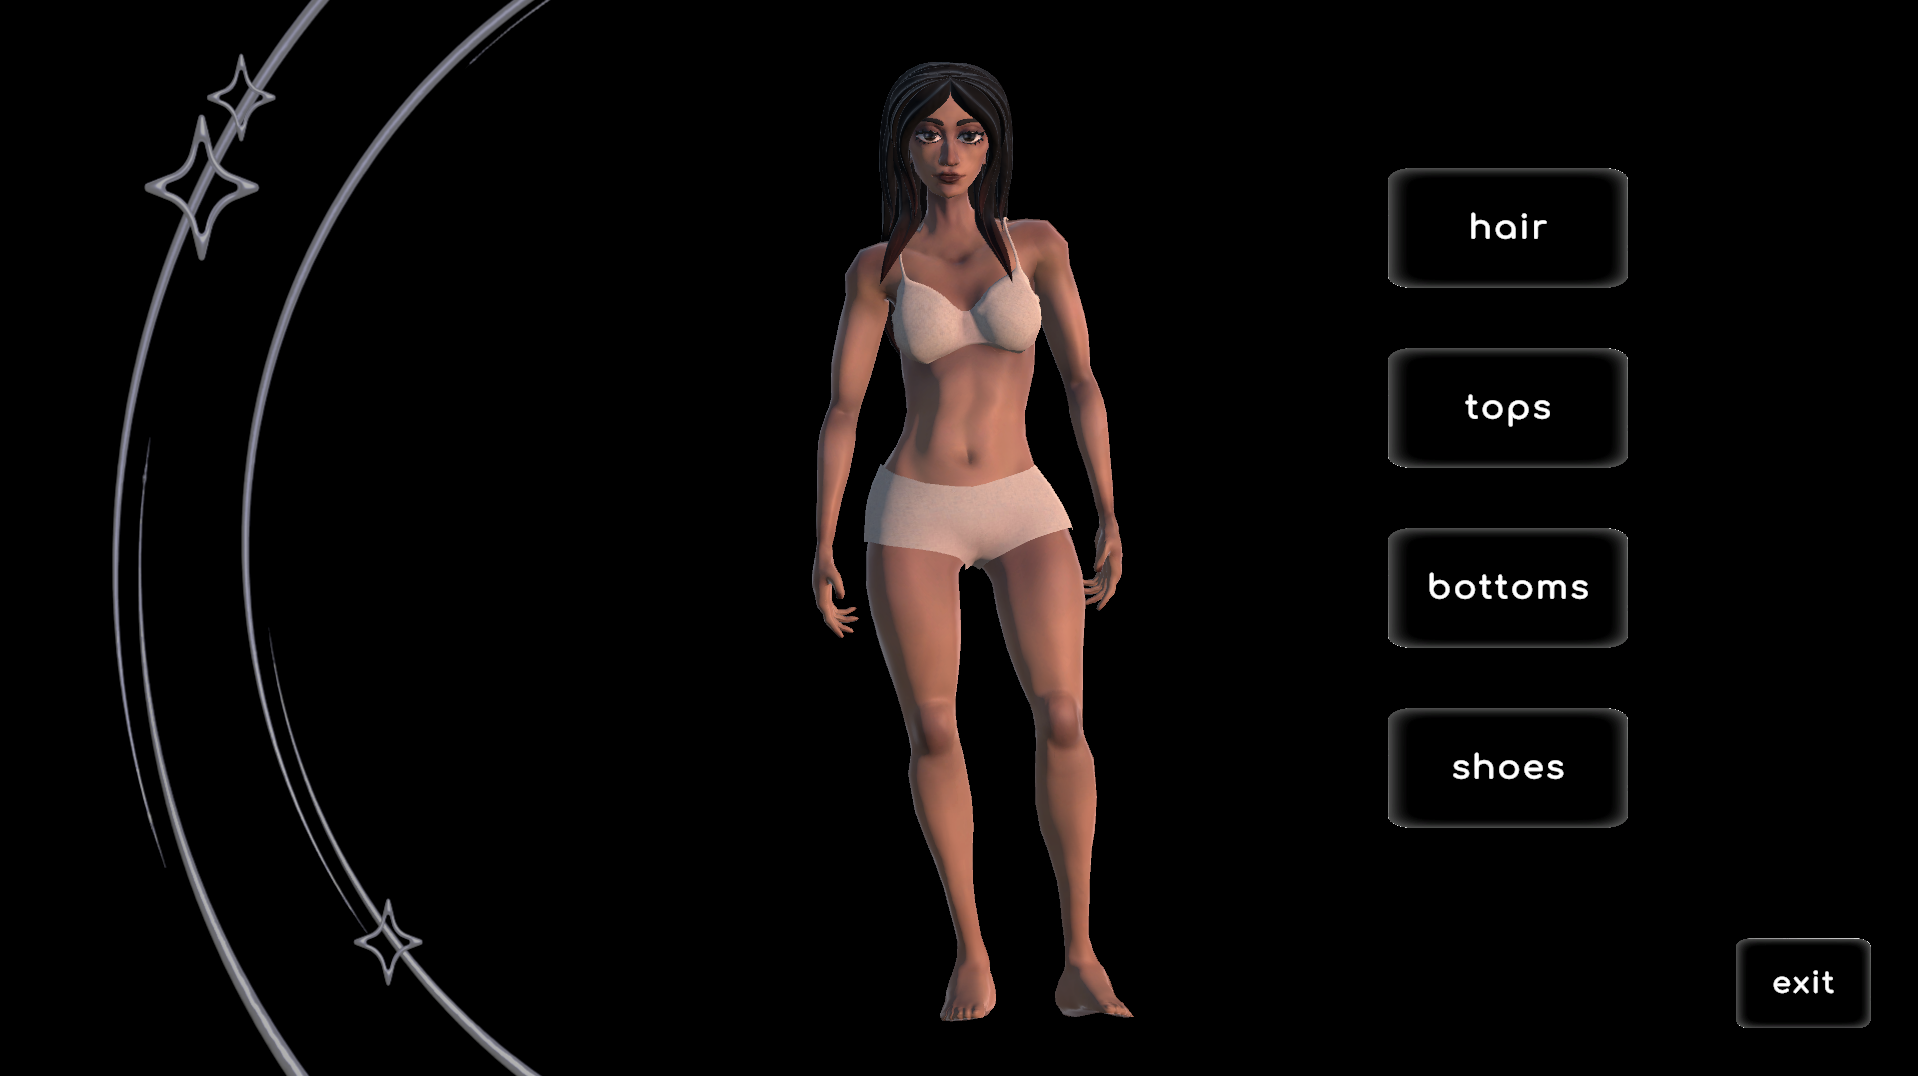
To map out the game structure, I first built a prototype using simple UI elements and untextured models. The core mechanic allowed the user to select a button to apply corresponding clothing to the character. I wrote several C# scripts to handle functionality, including how clothing is applied. My first approach was activating and deactivating clothing meshes, but this caused animation mismatches due to clothing sometimes starting at a different keyframe than the body. To resolve this, I switched to toggling the Skinned Mesh Renderer for each clothing item. Each button was assigned a clothing index to toggle OnClick, ensuring the correct outfit appeared while remaining synchronized with the character’s animation.
ui design
I created my UI elements through Adobe Illustrator, utilizing effects such as 3D and drop shadow to create more visually interested design. Various scripts were also written to enhance usability.
To improve usability, I implemented camera and UI panel switching so each clothing category had its own dedicated view and panel, which could be toggled based on the player’s selection. I also added visual feedback to make the interface more intuitive. Buttons change appearance when an item is selected, and they scale up slightly on hover. I also included cursor changes when hovering over interactive elements, which provided an extra layer of clarity and responsiveness.
reflection
process
Throughout the development of this game, I engaged in a lot of trial and error to discover what worked and what did not. This process taught me a great deal, including nuances in modeling, rigging, game design, and UI. I learned how to make assets game-ready and gained practical problem-solving skills that I would not have encountered without taking on this project.
improvements
Future improvements could include creating a WebGL version, adding sound effects, implementing a loading screen between the start screen and the game, enabling drag-and-drop functionality for clothing, allowing color changes for outfits, and adding a feature for users to download an image of their created outfit rather than exiting immediately.
game screenshots